Tag: robots

Animation Idles

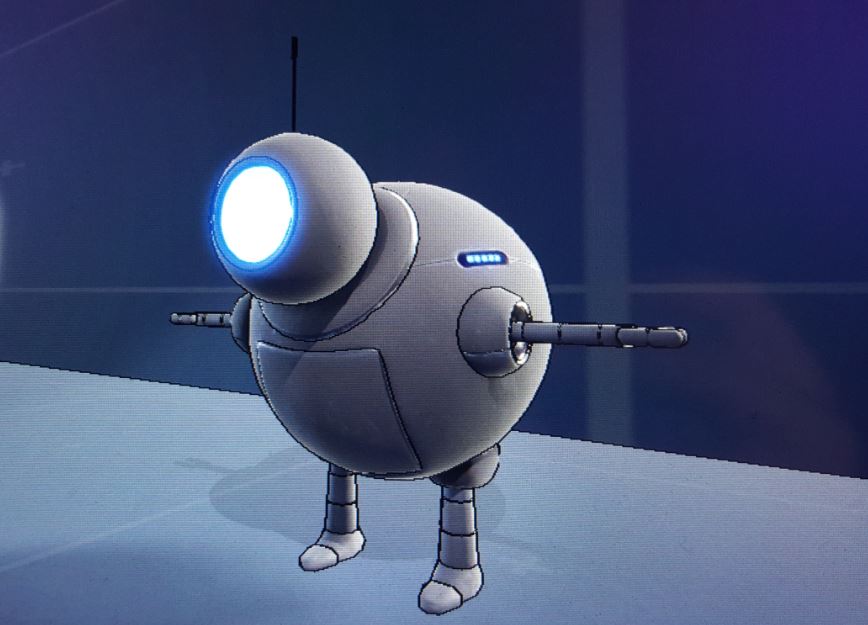
At this stage the character has been modeled, textured and rigged.

His blinking eyes are done with a sprite sheet and a few lines of C# code to play each frame in a sequence. The texture is emissive, so it will glow in the dark. I’ll need to write some code to swap textures based on animations, moods and game states, but that will come later. for now It’s great to see him come to life!

Testing this little guy ingame #robot #roboball #bleep #unity3d #idle #animation #chillin #v2 #3D

A post shared by Rob Elsworthy (@robelsworthy) on

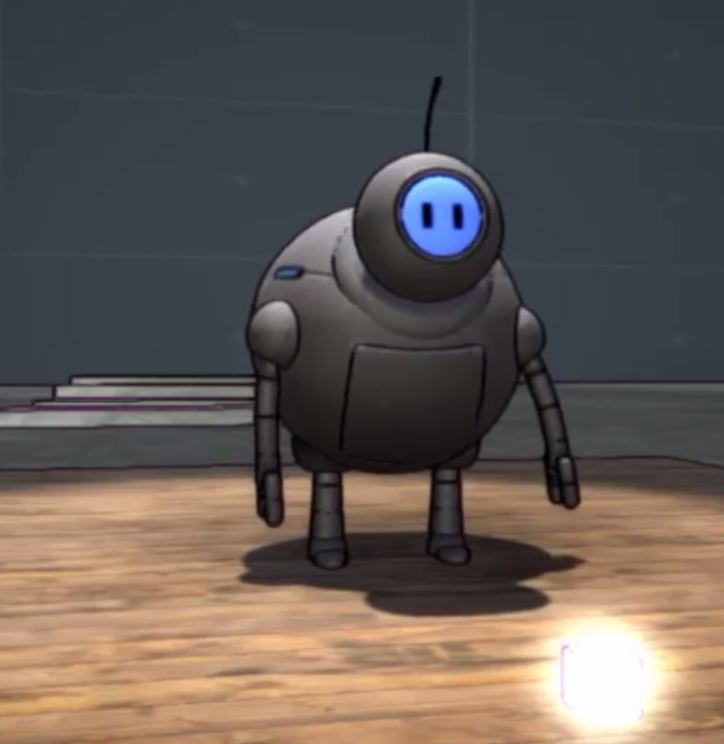
Running an idle animation is easy enough, but it was a little harder to find some info on randomizing idles. A big thank you to GameDevDad for posting a working example of the code required! I’ve just started learning C# and this was a big help.

After a few more animations to test the rigs limits ingame, I’ll need to study how it looks in Unity and fix any bugs I find. Later I’ll take a crack at the smear animations i’d mentioned before, as it involves some re-rigging. That will be a good point to make revisions. I’ve already noticed that the arm sockets have a habit of flipping around even though they are constrained (gimbal locking), and i’m seeing some tiny movement in the feet when they should be locked down. Fun!

Modeling and Texturing

With a character design ready to go it’s time to start modelling.

There are many programs that will do the job, like 3Dmax, Maya, Zbrush, or free options like Blender. There are tons of tutorials online to learn this stuff, even if you’ve never done any 3D. Though the learning curve is pretty steep if you’re new to 3D, stick with it! it’s very rewarding to finish a sculpture and fun to animate them!

One thing I’d suggest is going through every menu option (at the top of most windows programs) in the drop downs just to see what’s there. I do this for any new program I’m learning before even touching a manual. It helps to know what’s hidden in those menus and can save a lot of frustration down the road. Focus in on the few things you’ll actually need, like making and combining primitive shapes or how to control surfaces with verts and polygons. YouTube is your best friend when it comes to learning this stuff. And it’s free!

Here’s the first pass of my little robot guy after some UV editing. The checker pattern is to see that the texture mapping will be free of distortion.

Next up Textures!

Things have come a long way over the years, making the texturing process a lot less painful than it used to be. Quixel and Substance Painter are the new go to’s for adding surfaces to your models.

I’ll be doing things in passes, improving on the textures, rigging and modelling as I go during this early R&D phase. After a quick texture job here is the model imported into Unity. I’ve added the outline shader I was playing with in an earlier post just to see how it looks.

Success!